

|
Solar Lights Using 100 watt solar watt kits from Harbor Freight has saved us time and money... In Texas the July - Aug and even Sept night temps can be in the 90's. Moving young chicks from 24 hour lights to outside where there are no night lights was a problem... once evening came someone had to go out for several nights to keep the birds from piling. With Solar lights we lost 0 birds... even though we bought many of the kits... the cost was 0 due to the fact no birds were lost... and the end of year write off... really was great this year... There are many ways to provide solar energy... this was the quickest and least expensive for us.
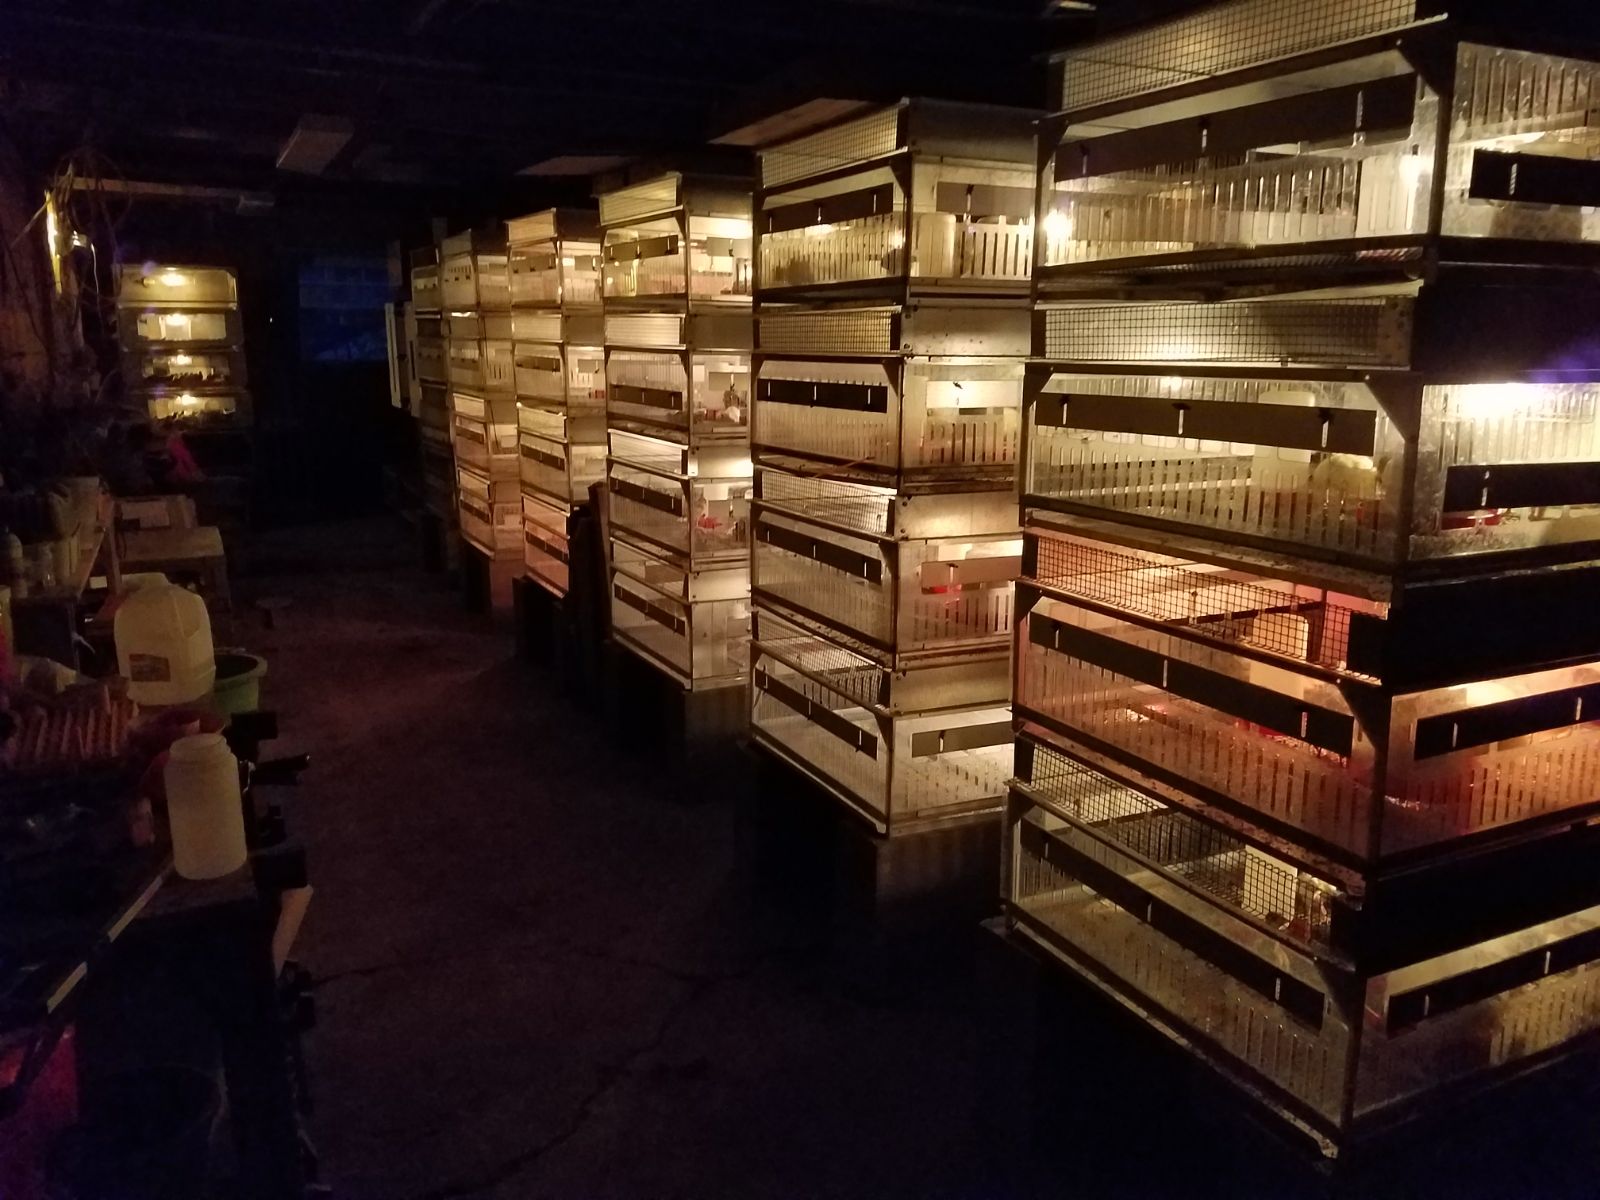
Brooders
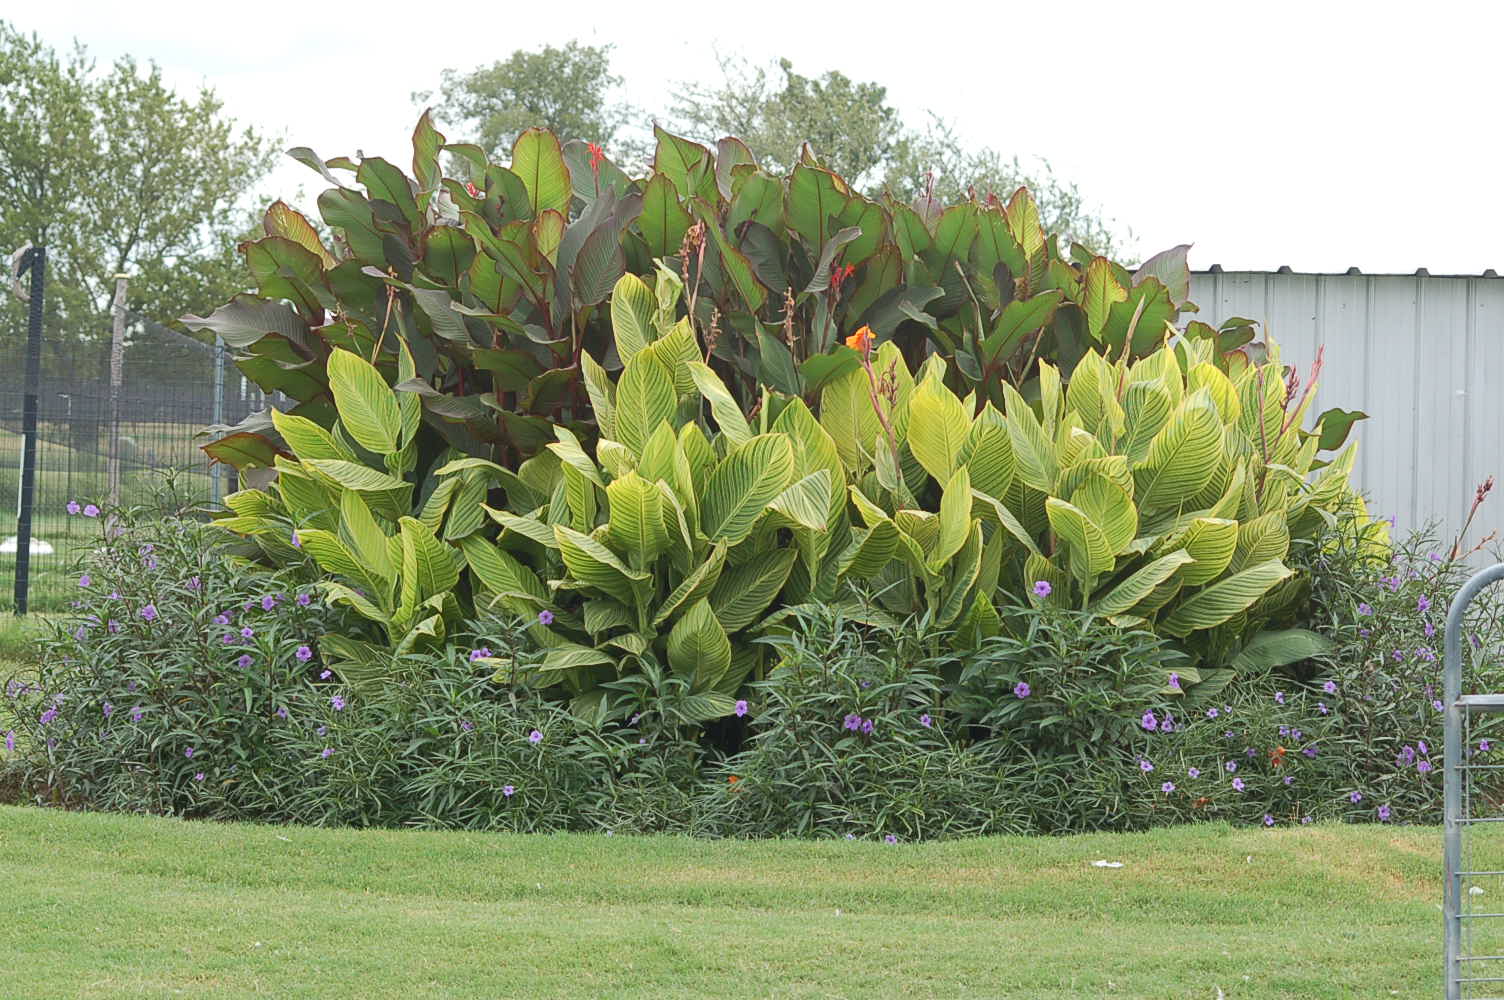
Not even a few months old... where my sand used to be dumped and then a manure pit for a time... all those plants were taken from the edges of other areas so there was no cost... just a little digging. Exhibit Pen For a display pen we tried slowing down to make a pen that was escape proof. First we started with square 3" steel post ... to hold up 10' high x 20' long 2x4 heavy horse panels. To add security 1" plastic coated hex wire was secured on top of the 2x4 horse panel. Adding 4 doors, the exterior having safety doors. Then about 8 ft away we used 2" steel post with 2x4 heavy gauge plastic coated wire as a perimeter fence to keep large predicators away. The steel tubes were cleaned and painted black. Safety Door (pen above) Back/Shed (pen above) Seasonal accent foliage surronding and within the perimator of the above Exhibit pen. We have planted the approach area's and shed rows to our breeding pens for shad, drainage and to leave a different impression than one might think of someone raising large number of birds. This can be something as simple as throwing a few bags of wheat and winter rye to yearly additions of inexpensive plants. Use bulb plants or hard woods for cuttings to expand the planting area's without adding cost.
Shed Row north side Shed Row east Shed Row west Adding something simple as bamboo matterial over steet or wire makes a difference.Crane Pen Simple wood shed each end will have 50x40 yards ... you can always reduce size Display, Flight Pens: Australian Dove pen This pen is about 8ft tall, 20' x35' long, covered with 1" netting, 1" plastic coated hex wire... is used to house several Doves, pair TemmincksTragopans... and for the time several Oscellated Turkeys. Planting grasses, boxwood, sumac shrubs, crepe mytle helps keep the birds seperated but, with the ability to fly or run to, through the open area. Vulturine Guinea Breeding Pen This pen has quite abit shade... would be a better pen for White Eared Pheasants, or Tragopan's but the Vulturine fowl do fine...Since I can't weld and have a good source for the cedar poles this was a project that grew from using cedar fence slats for the sides of the shed to putting reed material on a over hang for extra shade... early on the pheasants would roost on top of the reed.. about 1 foot lower than the netting... owls killed them all within a few months. The netting now has been tacked down to the cedar frame work. Funny thing about the shed... it started out to be a dog house! Steel Pen, plastic coated 1/2" X 1" Wire We cleaned, painted, then placed the 4X4 steel post...but, then it took 2 years to finish. The steel coated wire was installed on all sides including the top of this pen... This pen is 8ft tall, and about 30 ft long...the 26 guage steel R panel was pre-painted green, just inside the door we put a 3/4" thick plywood box that had been painted many times. In the cooler weather there will be a radiant heat source inside the box... the R panel will block wind on the top and north side. Just a thougt... several pens were created like this one... for birds flying, or those that prefer staying up off the ground. After observing several species I now wish we had used 10 or 12 ft tall walls... the top materials would not have changed... the additional cost for the sides would not have been that much more. Assorted Materials - Pen Using some cedar poles and 3/4 pvc water pipe along with an existing pipe fence...I used 1" plastic coated het wire, 1" netting...placed the wire up against an old rock well house... bent the 2 - 10ft pvc pipe to create an arch over a small peach tree... this held the netting high as well... the pipe has fallen apart...but the tree now keeps the netting up. We removed the small tub... it needed to be pumped every 3 days...So we removed the ducks and added Turaco's for the higher smaller branches and Northern Helmeted Curassow for the ground, as well as larger branches... both species do very well with planted / tree pens. Display Flight Pen We really like the landscaped flight pens... The plantings are quite large now, growing 4-5ft past the netting... the plants and trees don't push the netting up, instead grows through it... providing heavy shade, supply of insects. Breeding Pen One pair of Java Muticus peafowl are kept in this pen. I would rather have longer pens for the breeders... this gives the hens a chance to get away from the males. This 40 x 40 pen works well for one pair of birds. The Java's like to get deep into the Bamboo, which has taken over. Using Smaller Sheds this picture of a Cameo Blackshoulder Pied White Eye shows a 16 foot shed that was split into two 8 ft areas. The pen is about 25 ft. I noticed the sheds built first were really too larger for 3 - 4 birds... so I built a few 16 to 24 ft...and divided the living area into two units. Older birds don't run around and fly like the younger birds. As long as the breeders are not crowded (this indicates 15 birds in a 12 x 25 is really not a good idea) they should be ok.. We truck in sand and keep grass planted year long to in sure a healthy enviroment. Domestic Guinea Fowl / Snow notice the top right corner... the start of a Australian Brush Turkey mound...the Brush Turkey hen will dig a hole in the compost laying her eggs, which incubate themselves using the heat of the mound.
Sheds, Ideas: When thinking of what and how many pens you're going to be building stop and consider that you might be adding and redesigning in the future. Consider the location and ease to get equipment in and out. Where would your water lines, power sources be best used? Would you want a feed room located closer to the birds? Before you build, would you want to have sand trucked in, to be placed in the shed, or near before you build? Would it be better to rent posthole equipment, generator, perhaps a trailer to bring all materials together at one time before you build? Is there a dry season instead of dealing with mud and the rains? Would you want to rent a tiller to prepare the pen for grass planting before it is fenced? Do you want to trade those American Express points for Home Depot cash cards before you start buying materials. Where are you going to get the avian netting? Try bfproducts.com, we have used them and they are great to send catalogs. We think not all wire is equal... 2x4 welded wire from Home Depot breaks easily, while Tractor Supply has wire that hold its strength better. Galvanized welded wire will keep out dogs and is less expensive than chain link fence. Netting on the top is better than chicken wire for peafowl. We have many people call needing to replace peafowl that have broken their necks flying up, hitting wire, the netting is very giving and UV protected. You might also consider using screws instead of nails. In June 2005 we lost 50 ft of a roof by leaving a longer rear roof line. That along with using nails had the roof ripped off. Again in June 2006 we lost 65 ft of another roof line. We had again used nails. This time the wind caught the front and literally took the entire roof off, only stopping at 65 ft because that was were we had added another 45ft using screws. What one windy night can do when corners are cut ( there were parts of the roof that were still out in the pasture... notice how the tin is bent and twisted... If I had spent a few dollars more for a heavier guage tin like R Panel 26 gauge we probably would have been able to re-use most of the tin) When help is needed it had rained all night... temps were close to 100 and it was humid... yet these two ladies jumped in and were a great help. Also note that the newer treated wood will corrode sheetrock screws in as little as 6 months, use coated screws. We now purchase r- panel metal that covers a true 36 inch, instead of the corrugated metal that covers 18 inches when overlapped. We also like to build sheds that allow the water to flow and follow the slope of our property. Instead of the 7ft front 6 ft rear configuration. We started building 7ft front and 7ft rear with the sides offset. A 24ft shed is built 7.5 ft on the west side with 7 ft on the east. This allows us to buy 4, 24 long panels that will slightly slop to one end. Rain no longer floods from the rear back in to the front of the shed, but, now flows to one end and then when on the ground runs away from the housed birds. A 24 ft shed now can be built in a day. I would encourage all to visit as many locations as you could to gather some great ideas from others. All of our ideas came from talking and visiting as many other breeders that was possible. George Conner just outside of Springfield, Mo. really had a great setup. One shed, pen was 100ft long, around 10ft high, welded structure, the roosts were high, and the shed was enclosed with doors for each pen. Walking his area, George pointed out a pen. This pen was high. I believe what he had done was to place steel pipe over his t-post. This gave the pen strength, as well as height. Doug Mcnut had a great setup. Doug placed his sheds and pen rows facing each other. The pens are front entry with automatic waters in the front. This gave him a shed row between pens to give tours without stressing birds. Also allowed him to enter any one pen without having to go through all the sheds. Lewis Eckard also had a great setup. Lewis had his shed set for front entry to eliminate contamination. The configuration was good for bio-security, as well to keep the stress levels of newly imported greens minimal. I like the fact that the above ground brooders, grow out pens were all located within a workable area. The entire avian area was fenced and the guarding three Pyrenees dogs kept people like me at a distance until welcomed. The above are only a few who were very open with ideas and suggestions. Their collections of birds were diverse. They and many others are out there, with a little advance notice I'm sure you would be welcomed, but, just don't show up without calling first... that is what relatives are for. George and my good friend Dennis have passed away... but every visitor who walks around comments on the gardens and plantings we have... this is the best complement, for those ideas came from Dennis. Don't cut grass off the fence. Spend more time with your family or birds and let the grass act as a screen for collecting feathers. Plant wheat, oats along the fence line, and a few feet out to add color, texture during the winter, early spring, also gives the birds something to eat. Plant winter rye to add color and again to entertain the birds. Perhaps ad a pen that is tied to others to rotate your birds after breeding season. Build a larger pen area that can be used after breeding season to place two or three breeding pens. Now add new sand and roosts to those breeding pens and place your new chicks there until they are sold or turned out. Plan the next breeding season and place the breeders back in their areas between December and January. When relocating yearlings or breeders, relocate at one time to eliminate territorial fights. Plant local cold,drought, tolerant plants in the corner areas around your pens.
Incubator, Brooders: |
| We are members of: DALLAS ZOOLOGICAL SOCIETY ZAOZ ZOOLOGICAL ASSOCIATION OF AMERICA United Peafowl Association (U.P.A) |


